Many QTP user confuse between Test and Action Parameters. This article will explains both the concepts in details and eliminate any confusion. QTP Help does not describe the method of using Test Parameters
Test Parameters
Test Parameters can be used to pass values to the test and retrieve values when the test completes. They are global parameters and can be accessed in any action or rather any scope. They are of two type – Input and output. Input Parameters are used to pass values to the test while Output Parameters are used to retrieve values from the Test.
Adding the Test Parameters
Test parameters can be added in the File->Settings…->Parameters (Tab) as shown in the image below

Adding Test Parameters
Note: Parameter names are case sensitive. Once added a parameter’s order can’t be changed, changes can only be done by deleting and re-creating the parameters.
Accessing Test Parameters
This is nowhere documented in the QTP Help file, but we can use Test Parameters using the TestArgs object. The code below shows how to access a parameter named ‘InputDataTable’
inputDataTable = TestArgs("InputDataTable")
|
Note: Many times Test Parameters are confused with Action Parameters and one tries to access the value using the Parameter object, which generates a ‘Parameter not found’ error.
Passing the Test Parameters
Test Parameters can be passed in three different ways
- Through the ‘Input Parameters’ tab of the Run window as shown in the image below

Passing parameters through Input Parameters tab of Run window
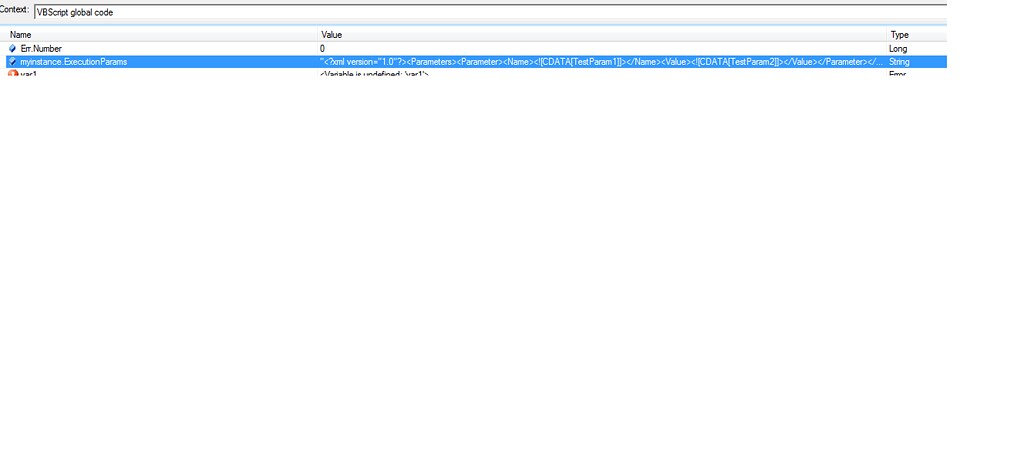
- Through QTP Automation Object Model (AOM) – We can also pass values of input parameters using the QTP AOM. The code needs to be run in a program external to QTP, ex – VBScript. The code shown below demonstrates the passing of test parameters
'Launch QTP
Set qtApp = CreateObject("QuickTest.Application")
qtApp.Launch
qtApp.Visible = True

'Open a test
qtApp.Open "C:\TestInputParams"

' Retrieve the parameters collection defined for the test.
Set oParams = qtApp.Test.ParameterDefinitions.GetParameters()

oParams.Item("InputDataFile").Value = "C:\NewTestData.xls"

' Run the test with changed parameters.
qtApp.Test.Run , True, oParams
|
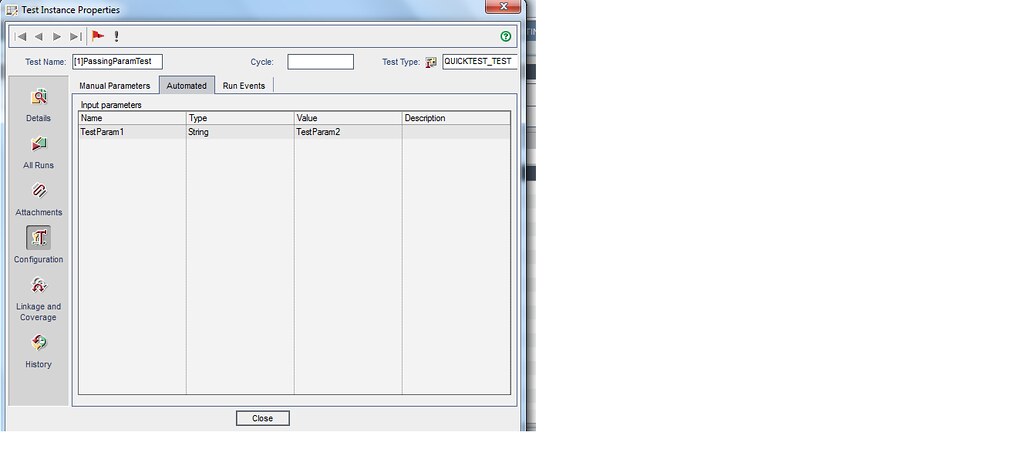
- Through Quality Center (QC) – We can also pass the parameters through. This option is only available when the test is added to a TestSet in TestLab
Action Parameters
Action Parameters can be used to pass or retrieve values to or from an Action.
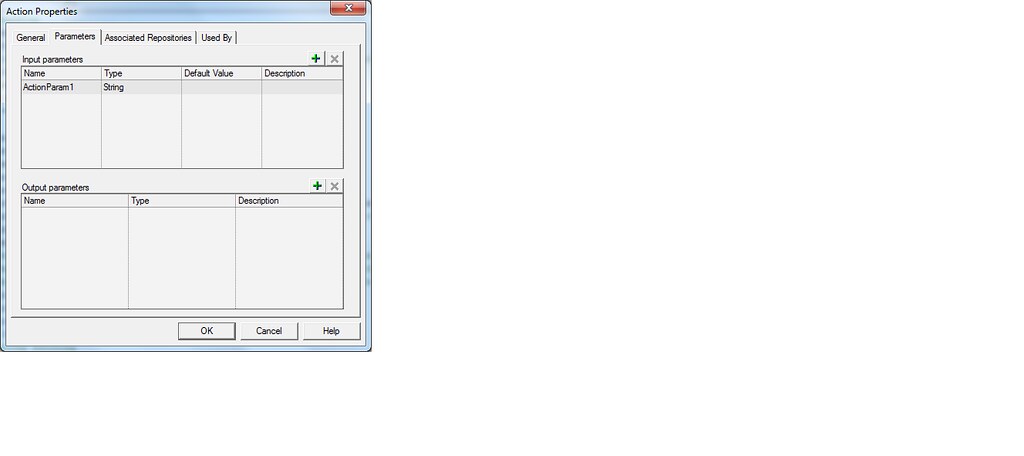
Adding Action Parameters
Action parameters can be added in the Parameters tab of Action properties as shown in the image below

Adding Action Parameters
Accessing Action Parameters
Action Parameters can be accessed using the Parameter object. The code below demonstrates how to access a Input parameter named ‘InputValue’
sInputValue = Parameter("InputValue")
|
Note: Input parameters are NOT read-only and their value can be changed at run-time within the Action.
Action Parameters can only be accessed inside the Action they belong to.
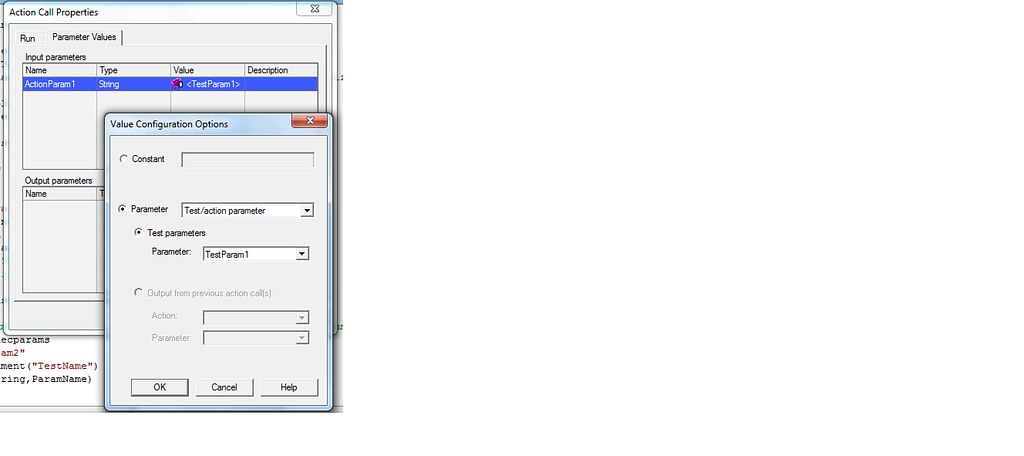
Passing the Action Parameters
Action parameter can be passed in the RunAction call. All Input Parameters are passed first and then all the Output Parameters. Input Parameters can be passed as Constant Values or Variables. Example
RunAction "ActionParams", oneIteration, "C:\Test"
sInputValue = "C:\Test"
RunAction "ActionParams", oneIteration, sInputValue
|
Output Parameters need to retrieved through variables only. Output Parameters can be ignored by skipping the parameter in RunAction. Example – If a Action takes two parameters one Input and Output, we can call the Action in various ways as shown in code below
'Ignoring the Output Parameters
RunAction "ActionParams", oneIteration, "C:\Test"
sInputValue = "C:\Test"
RunAction "ActionParams", oneIteration, sInputValue

'Retrieving the Output Parameter
Dim sOutputValue
RunAction "ActionParams", oneIteration, sInputValue, sOutputValue
RunAction "ActionParams", oneIteration, "C:\Test", sOutputValue
|
Note: While calling an Action for all of it’s iterations, Output Parameters values can’t be captured. This happens because one call to the RunAction can run the Action for all of it’s iteration. Hence, on every iteration the Output Parameters value will be overwritten.